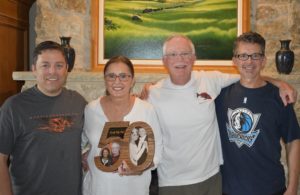
My parents recently celebrated their 50th anniversary. My brother and I got together in my shop to make a custom picture frame to commemorate their special milestone.
The Project:
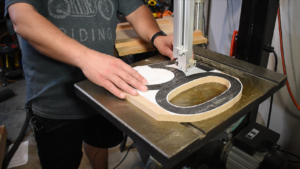
We started with a piece of 12″ x 24″ white oak that I picked up from my local home center.
I created a template on my computer, then adhered it to the oak with some spray adheisive
I then cut out the “50” shape. I started by drilling a hole in the center of the zero. I then used my jig saw to cut the center out. I did this as a first step because I was afraid that I would split the wood if I did it after cutting the outside. After cutting out the inner hole, I used my bandsaw to cut the rest of the outline.
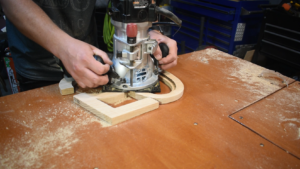
Once the shape of the frame was cut and sanded, I used my router with a 3/8″ rabbeting bit to cut a recess for the photos to rest.
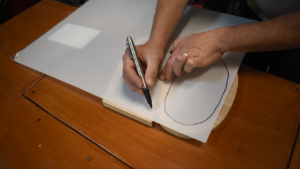
Once the recess was cut, my brother traced the outline on a sheet of 1/8″ acrylic that will be used as the “glass” to hold the photos.
Once that was done, we cut everything out on the bandsaw.
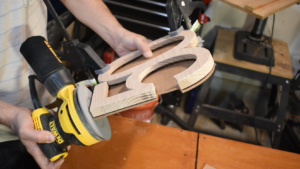
I used a piece of masonite for the backing of the frame. I traced the outline, then cut it on the bandsaw. After that, I screwed the masonite to the back and sanded flush with my random orbital sander.
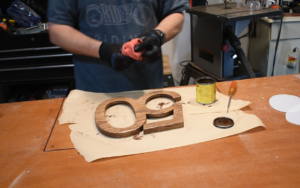
Once everything was fitted and sanded, I stained the frame then covered it with a couple of coats of spray polyurethane.
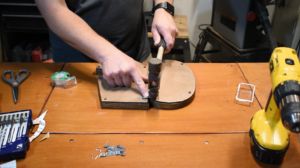
After the poly was dry, I inserted the clear acrylic, photos, and some cardboard spacers, then screwed in the back panel and added a sawtooth style hanger.
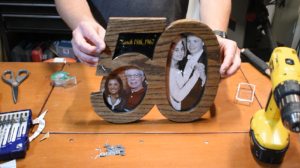
The finished product turned out great, and my parents were very happy. I did not have a copy of my parent’s wedding photo, but was fortunate that she had posted one on her Facebook page. I grabbed a recent picture of them as well to have pictures from “yesterday and today.” My son made a date card in Photoshop and I had them all printed on photo paper.
I was really happy that my brother and I were able to do this project together for our parents. The frame turned out great, but more importantly we were able to give them something that meant a lot to everyone.
Here are the tools and materials used in this project.
- – 12″ x 24″ x 1″ white oak panel
- – 24″ x 24″ x 1/8″ clear acrylic sheet
- – 1/8″ thick masonite
- – Sawtooth hanger kit
- – 1/2″ button head screws
- – Stain
- – Clear Polyurethane spray
- – Drill Press
- – Jig Saw
- – Band Saw
- – Random Orbital Sander
- – Belt Sander
- – Cordless Drill
- – Hammer
